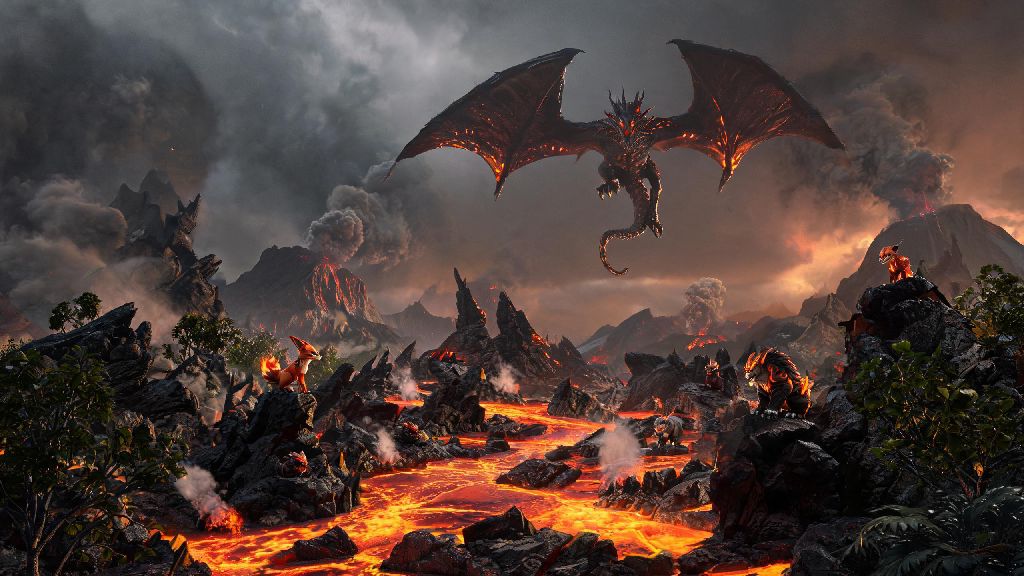
If you’ve spent any time hunting for Palworld’s most powerful endgame Pals, you’ve likely heard rumors of Astegon, the menacing black dragon that dominates volcanic biomes. Figuring out how to get to Astegon in Palworld is half the battle, since its spawn area is tucked away in one of the map’s most dangerous, hard-to-reach corners. I’ve made this trip a dozen times both solo and with friends, and I’ve tested every possible route to find the one that wastes the least resources and avoids unnecessary fights. This guide will walk you through every step, from what you need to bring before you leave, to the exact path you should follow to reach Astegon’s spawn points safely.
Prerequisites You Need Before Heading to Astegon’s Spawn Area
You can’t just sprint to Astegon’s home biome 10 hours into your playthrough, unless you want to get one-shot by every enemy along the way. There are a few non-negotiable items and Pals you need to have in your inventory first to make the trip survivable.
I skipped the heat resistant armor on my first attempt, and I lost half my health before I even got close to Astegon’s spawn. Don’t make that mistake—craft the full set before you leave your base, it only takes a few pieces of palodium and fire organs to make. If you don’t have access to the heat resistant armor blueprint yet, you can unlock it by reaching level 35 and spending 3 technology points.
Exact Step-by-Step Route to Get to Astegon in Palworld
Astegon spawns exclusively in the Mount Obsidian volcanic biome in the far northwest corner of the Palworld map. If you’re starting from the starting plateau fast travel point, follow this route exactly to avoid getting lost or running into high level enemies you don’t need to fight.
First, fast travel to the Desert Fast Travel Point at the northern edge of the sandy desert biome. This cuts your travel time in half compared to flying all the way from the starting area. If you haven’t unlocked this fast travel point yet, you can fly there from the starting plateau in about 10 minutes, just stay high above the desert to avoid aggressive ground Pals. Once you spawn in, mount your flying Pal and head directly northwest, staying at least 100 feet above the ground. You’ll pass over a small snow biome first—ignore the Pals there, they won’t bother you if you stay high enough.
After two or three minutes of flying, you’ll see the dark red, lava-filled volcanic biome come into view. Don’t land yet! Keep flying west along the northern edge of the biome until you spot a large, flat volcanic plateau with no lava pools on it. That’s Astegon’s main spawn area. Land carefully on the edge of the plateau, and stay alert—Astegon usually spawns near the center of the flat area, but you may also run into level 45+ Blazamut and Reindrix Pals patrolling the edges. You can fight them for extra loot if you want, but I usually sneak past them to save my resources for Astegon.
If you don’t have a flying mount yet, you can take the land route through the canyon between the desert and snow biome, but it’s far more dangerous. You’ll have to fight dozens of high level Pals along the way, and it takes three times longer than the flying route. I only recommend this if you’re intentionally doing a no-fly playthrough, or if you want to farm extra Pal drops along the way.
Common Threats to Avoid on Your Trip to Astegon
Even if you follow the route exactly, there are a few common threats that can ruin your trip before you even see Astegon. I’ve had to turn back halfway more than once because I didn’t watch for these hazards, so keep an eye out during your flight.
The first big threat is the swarm of level 40+ Velkron that patrol the airspace above the edge of the volcanic biome. They’re aggressive, fast, and will chase you for hundreds of feet if you get too close. If you see their red, bat-like shapes in the distance, climb 50 feet higher and go around them. It only adds 30 seconds to your trip, and it’s way better than getting knocked off your mount mid-flight into a lava pool. If they do spot you, don’t stop to fight them—keep flying higher until they lose interest and turn back.
Another hazard is the random lava geysers that erupt all over the Mount Obsidian biome. They shoot fireballs 100 feet into the air, and one direct hit will knock 70% of your health off even with heat resistant armor. Keep an eye on the ground below you as you get closer to the spawn plateau, and avoid flying over areas where you see steam rising from the rocks. Those steam spots are where geysers are about to erupt, so it’s easy to avoid them if you’re paying attention.
If you do get knocked off your mount, don’t panic. Use a fire resistance potion immediately, then look for the nearest patch of solid rock to land on. Most of the biome is covered in lava, but there are small rock outcroppings scattered everywhere you can land to heal and resummon your mount. I’ve fallen off my Nitewing twice after getting hit by a stray fireball, and I’ve survived both times by following this trick.
What to Do Once You Reach Astegon’s Spawn Area
Once you land safely on the spawn plateau, take 30 seconds to heal up, apply any buffs you have, and get your capture gear ready. Astegon spawns every 10 to 15 minutes if you’re in the area, so you may have to wait a few minutes if it’s not there when you arrive. Don’t wander too far from the center of the plateau while you wait—you don’t want to accidentally pull a group of Blazamut that will waste your resources before Astegon shows up. You can build a small temporary base with a bed and storage box if you plan to farm Astegon multiple times, that way you can respawn right there if you die during the fight.
If you’re planning to capture Astegon instead of just killing it for loot, make sure you have at least 10 legendary or ultra spheres in your inventory. Astegon has a very low catch rate, even when its health is down to 10% and it’s inflicted with a status effect like sleep or paralysis. I usually bring 15 ultra spheres just to be safe, because nothing is more frustrating than running out of spheres right as you get Astegon’s health low enough to catch.
If you’re farming Astegon for its drops to make endgame gear, you can fast travel back to the desert fast travel point and immediately return to the plateau to reset the spawn. I use this trick to farm 5 or 6 Astegon per hour, which is way faster than waiting for it to respawn naturally in the same session. You can also bring a Pal with the item collection skill to automatically pick up all the drops after each fight, which saves you even more time.
Now that you know how to get to Astegon in Palworld, you can skip all the frustrating trial and error I went through on my first few attempts. Take the time to gather all the prerequisites before you leave, stick to the high flying route, and avoid the Velkron swarms and lava geysers along the way, and you’ll be standing in front of Astegon in no time. Whether you’re trying to capture it as part of your Pal team or farm its drops for powerful endgame gear, this route is the fastest, safest way to reach its spawn area every time. Once you catch Astegon, you’ll have one of the strongest Pals in the game to help you take on even the hardest raids and boss fights.