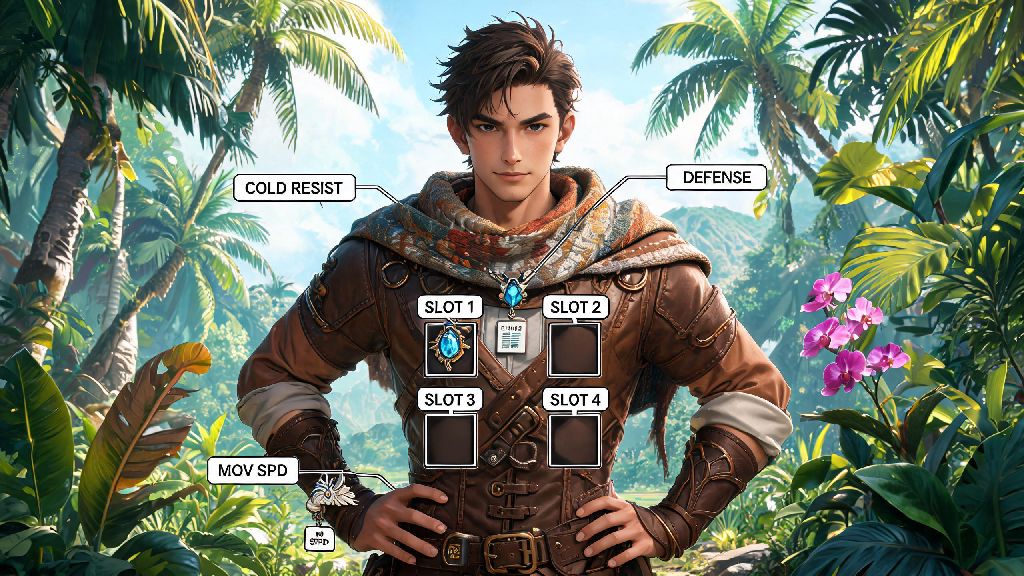
If you’ve ever found yourself stuck choosing between a cold resistance amulet, movement speed charm, and defense scarf before heading out to explore Palpagos Island, you know how frustrating limited accessory slots can be. You don’t have to keep swapping items every 10 minutes or skipping useful buffs to make space for the ones you need most. This guide breaks down exactly how to unlock more accessory slots palworld, what requirements you need to hit first, and how to use those extra slots to make your playthrough far smoother.
How to Unlock More Accessory Slots in Palworld: Core Requirements
You start every new Palworld playthrough with just one accessory slot, and many new players don’t realize you can unlock up to four more without installing any mods. The process is tied to both your player level and Technology Point spending, with one bonus slot locked behind end-game content. You don’t need to complete any special side quests or collect rare items to unlock the first four extra slots, though you will need to plan your Tech Point spending a little bit to prioritize them if you want them early. All slot unlocks are permanent for your save file, so you never have to re-unlock them if you die or move your base.
You don’t have to unlock these slots as soon as they become available, but most players find that getting them early saves a ton of hassle down the line. You will not lose unlocked slots if you respawn or start a new base on a different part of the map, so they’re one of the most consistent upgrades you can buy with Tech Points. If you’re playing on a shared server, your slot unlocks are tied to your specific character, not the server settings, so you won’t lose them if you switch to a different server with the same save.
Best Ways to Prioritize Accessory Slot Upgrades Early Game
New players often waste their first stack of Tech Points on decorative items, extra storage, or low-tier crafting stations before they even think about accessory slots. That’s an easy mistake to make, but it’s one that will slow down your progression a lot if you plan to explore beyond the starting green biome. The first 20 levels go by extremely fast if you’re catching Pals and completing base missions, so you’ll hit the third slot unlock requirement before you know it.
For example, I made the mistake of unlocking the large farm plot first on my first playthrough, and ended up dying three times in the snowy mountains because I couldn’t equip both a cold resist amulet and a defense scarf at the same time. I had to grind extra XP and Tech Points for an hour just to unlock the third slot so I could go back and collect the rare ore I was trying to get in the first place. Prioritize the third accessory slot before you unlock any level 20 crafting stations if you plan to explore the desert or snowy biomes in your first 20 hours of play.
If you’re playing co-op with friends, you can split your Tech Point priorities to cover more ground, but every player should still unlock their own accessory slots as soon as possible. Even if your friend has a fully upgraded base with all the best crafting stations, you won’t be able to tag along on high-level boss fights if you can’t equip enough defensive and offensive buffs to stay alive.
Common Mistakes to Avoid When Unlocking Accessory Slots
There are a few persistent myths around accessory slot unlocks that trip up even experienced players. For one, a lot of people think you need to beat Alpha Pals or complete tower bosses to unlock the first four slots, but that’s not true at all. The only boss you need to beat for an extra slot is the end-game Broodmother, and that’s just for the fifth bonus slot. The first four are available purely through leveling and Tech Point spending.
Unlocked accessory slots are tied to your specific save file, not your global Palworld account, so you will need to unlock them again if you start a new save or switch to a different character on the same server. That’s important to remember if you’re planning to start a new hardmode playthrough, as you’ll be back to one slot until you level up again. You also can’t transfer slot unlocks between single player and multiplayer saves, even if you’re using the same character name.
Another common mistake is spending Tech Points on low-tier accessories before you unlock extra slots. A common or rare accessory only gives a tiny stat boost, and you’ll replace it within a few hours anyway. It’s far better to save those points to unlock an extra slot, which will let you equip multiple higher-tier accessories later on for a way bigger overall stat boost. You also don’t need to fill every slot all the time – it’s okay to leave one empty if you don’t have a useful accessory to put in it, instead of wasting space on a low-level buff you don’t need.
How to Make the Most of Your New Unlocked Accessory Slots
Once you have three or more slots unlocked, you can start building custom loadouts for different activities instead of using the same set of accessories for everything. For general exploration, you’ll want to prioritize movement speed, stamina regen, and environmental resistance buffs that let you travel further without stopping to rest or swap items. For boss fights, you’ll want to swap those out for defensive buffs, attack boosts, and elemental resistance that matches the boss you’re fighting.
Always keep one free accessory slot open when you're exploring unmarked biomes, in case you pick up a rare temporary buff item that gives you a huge advantage against random Alpha Pals. These temporary buffs can last for up to 30 minutes, and they often give you a 50% or higher boost to stats like attack or defense that make fighting high-level Pals way easier. If all your slots are filled, you’ll have to drop a permanent accessory to use the buff, which is never a fun choice to make.
It’s a good idea to keep a chest full of spare accessories next to your main fast travel point, so you can swap loadouts in seconds before you head out on a mission. I keep separate stacks of exploration, combat, and base building accessories in my chest, so I don’t have to dig through my inventory every time I switch tasks. For base building, I stick to carry weight boosts, stamina regen, and hunger reduction buffs that let me build for longer without stopping to eat or run back to storage to drop off materials.
Legendary accessories give far higher stat boosts than common or rare variants, so save your highest tier accessories for end-game content where the extra stats matter most. You can get legendary accessories from defeating high-level Alpha Pals, opening rare chests in secret biomes, or crafting them once you unlock the end-game crafting stations. Using a legendary defense scarf on a low-level Gobfin fight is a waste, since you won’t need the extra defense, but it can be the difference between winning and losing a fight against the end-game tower bosses.
Once you know how to unlock more accessory slots palworld, you’ll find the entire game feels far more flexible and less frustrating. You don’t have to choose between useful buffs anymore, and you can customize your loadout to match exactly what you’re planning to do that play session. I rarely go on any expedition without at least three slots filled now, and the fifth slot I got after beating the Broodmother made taking on the end-game raid Pals so much easier. Take the time to prioritize these upgrades early, and you’ll save yourself hours of annoying item swaps and unnecessary deaths as you explore Palpagos Island.